Here's the films for my final year university. The first one represents my concept art and 3D modelling, which leads into the final project below, enjoy.
Monday 26 May 2014
Sunday 11 May 2014
Animation Direction AM50309 - 6: Week 17
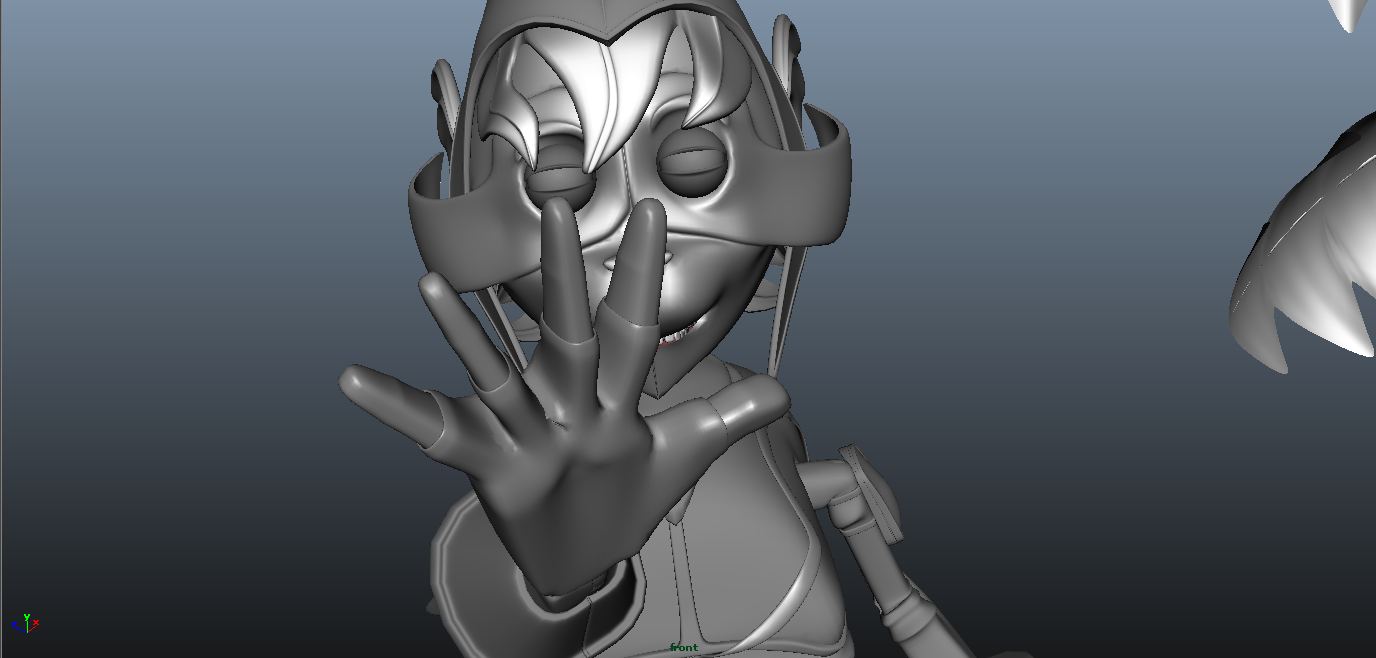
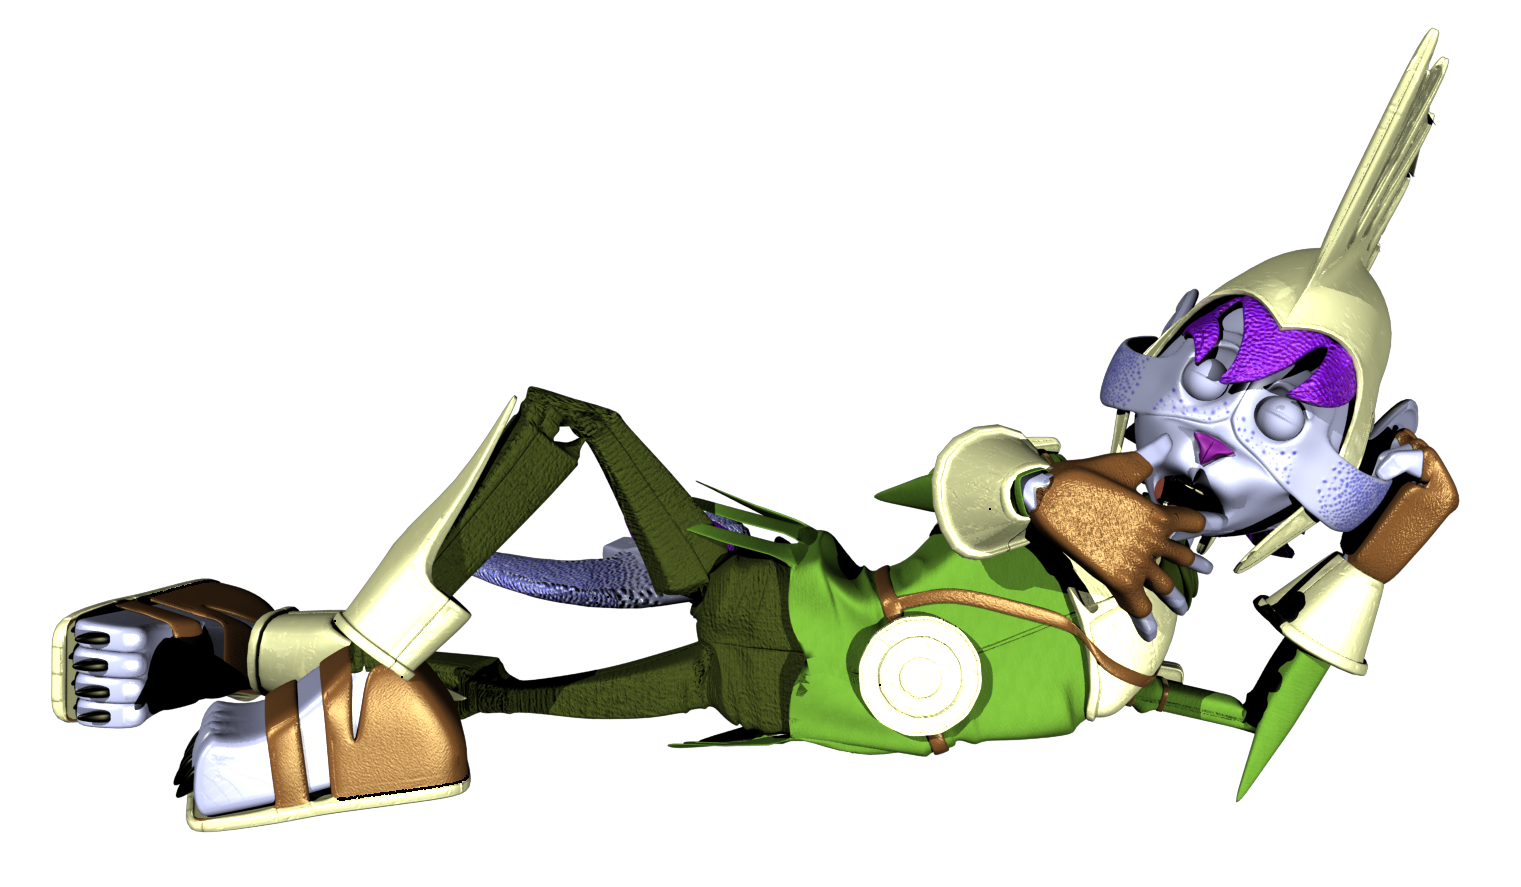
This week my aim has been to make refinements to Fishbone's animation. As he is the most complex character in the scene, I felt it was important to focus on his animation. This was also necessary to avoid making changes when rendering.

One thing I have focused on is the inbetweening of certain parts of Fishbone's animation. This is to achieve the best result in motion and avoid the animation from looking too stiff when played back. Below are some examples of the inbetween frames that I've done.


I've also started to make progress on the coconut's animation. I've left this character's animation till last because I know it will be a lot easier to animate than Fishbone. I now need to finish making refinements to the scene and characters before I begin rendering the scene and adding sound.
Working on this project has really taught me a lot about time management and teamwork. I have also learnt a lot more tips and tricks in Maya, and I will aim to discover more techniques in this software to improve my workflow. I now aim to take these skills and use them for studio practice.
Sunday 4 May 2014
Animation Direction AM50309 - 6: Week 16
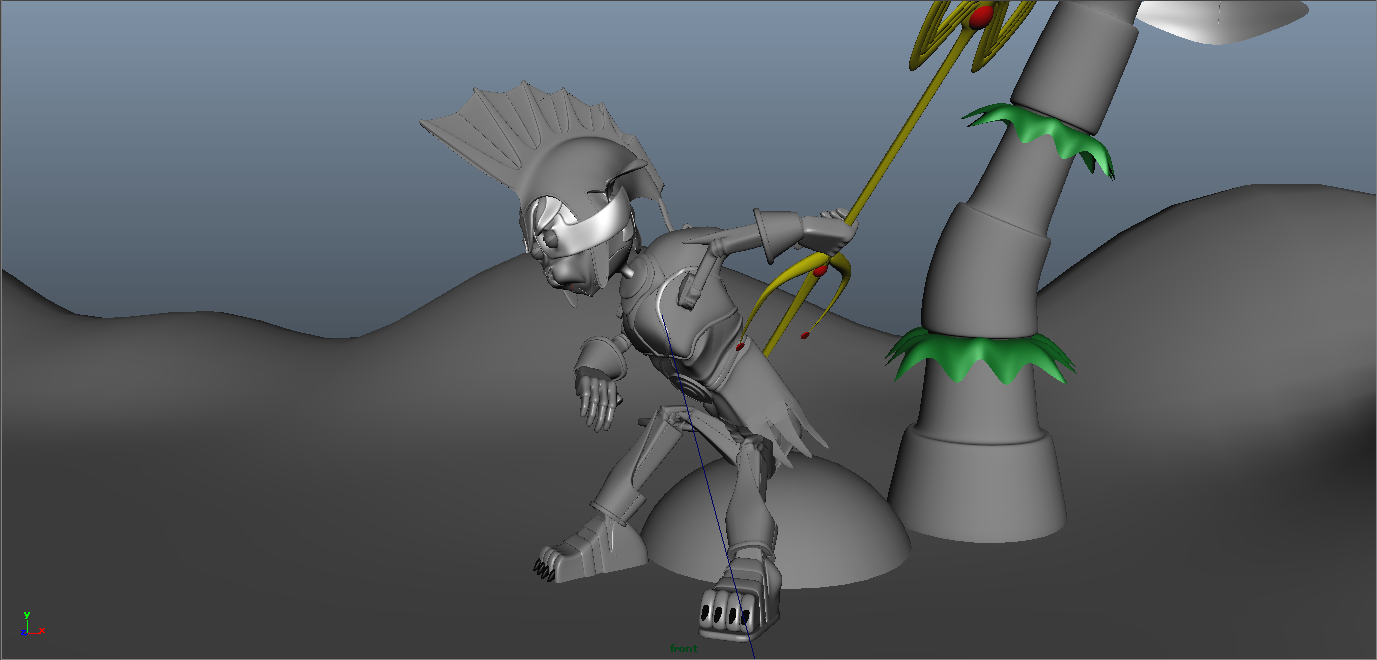
This week I've been carrying on with Fishbone's animation as before, and aiming to finish Fishbone's base animation so that I can improve previous parts of his animation.
I carried on with the same process of animating over the blocked frames. One thing that has been difficult is keeping the trident placed in Fishbone's hand, so I've had to use numerous keys to keep it attached.
Next week I will start improving Fishbone's animation and start animating the coconut. Hopefully I will also be able to find time to do secondary animation for the palm tree and the rst of the environment.
Sunday 20 April 2014
Animation Direction AM50309 - 6: Week 15
This week I've carried on working on the animation of Fishbone. I've also rectified part of the scene so as to improve the quality of the final render.
Over this week I've feel that I've made good progress with the animation, making refinements where necessary. I have now reached the halfway point of my animation, and will continue working on the motion to improve it.
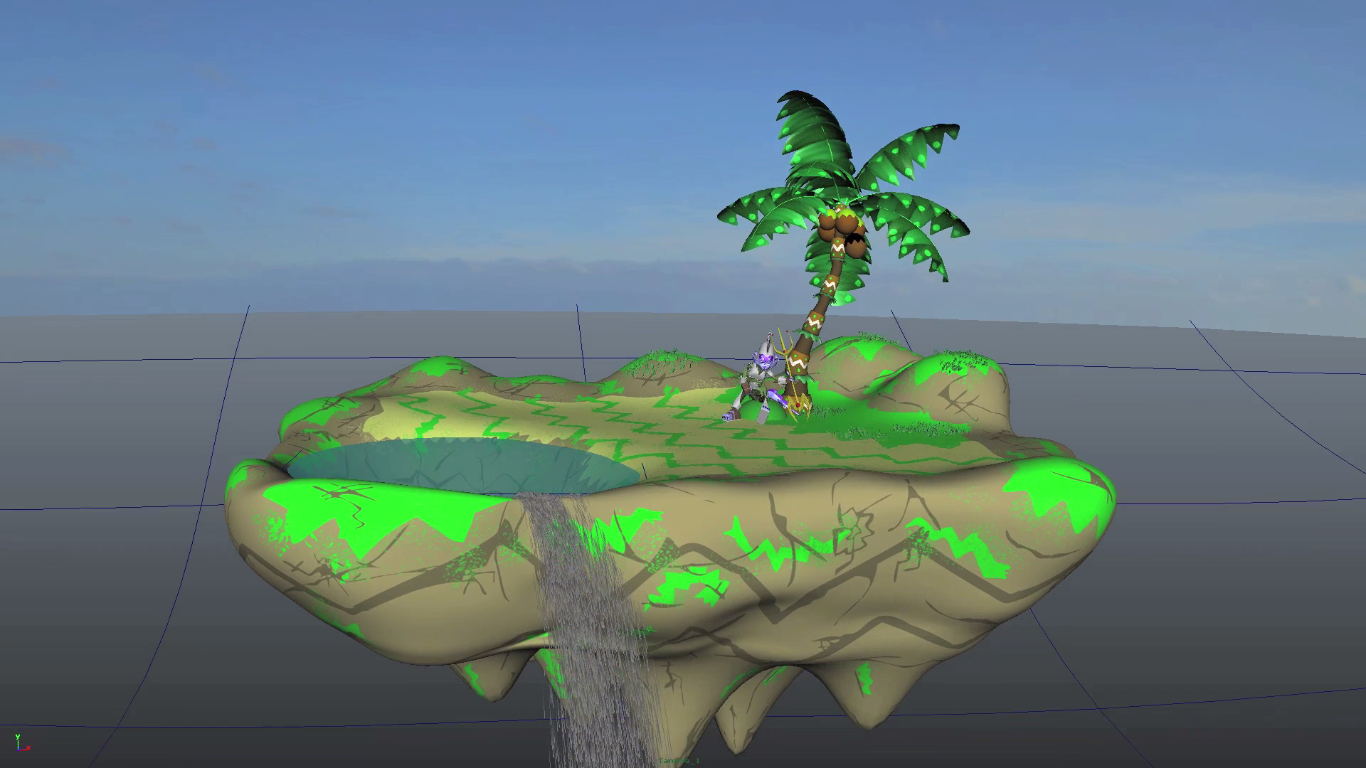
I have also refined some of the detail on the main island. As I've been occasionally rendering some parts of the scenes to check the lighting, I've noticed that parts of the island look very pixelated. I knew that this wouldn't do for the final image, so I've rectified the pixel size and made adjustments where necessary.
Next week I'm heading to Stuttgart Animation Festival with a group of 9 other people, and will be there for the whole next week. I see this as an opportunity to improve my networking with professional studios, and plan to show a segment of my final major project at the festival. I will provide photos that I've taken at the festival next week.
Over this week I've feel that I've made good progress with the animation, making refinements where necessary. I have now reached the halfway point of my animation, and will continue working on the motion to improve it.
I have also refined some of the detail on the main island. As I've been occasionally rendering some parts of the scenes to check the lighting, I've noticed that parts of the island look very pixelated. I knew that this wouldn't do for the final image, so I've rectified the pixel size and made adjustments where necessary.
Next week I'm heading to Stuttgart Animation Festival with a group of 9 other people, and will be there for the whole next week. I see this as an opportunity to improve my networking with professional studios, and plan to show a segment of my final major project at the festival. I will provide photos that I've taken at the festival next week.
Saturday 12 April 2014
Animation Direction AM50309-6: Week 14
After finishing all of Fishbone's key posing, it was time to start the animation process. My aim is to try and experiment with his motions to see what works and what doesn't work. Having already utilised animation layers the week before, I plan to use this technique for thee rest of the animation.
So far I have had varied success with the character animation, with some motions being hard to animate. As a consequence, I have sometimes tried to act out some of the motions to gain some perspective. I have also regularly checked the motions through playblasting to check the results.
Here's a video showing the progress I've mad so far. There's still some refinements I need to make but I will address them in the future.
Sunday 6 April 2014
Animation Direction AM50309 - 6: Week 13
My aim this week was to try and finish the key posing for Fishbone. As my film is 2 minutes long, I wanted to make sure that the posing was completely right before I start animating. If I had time, I would actually begin animating him as well.
Overall, I've found key posing very useful, and I plan to use this process again for future 3D animations. There are still some poses that I have to work on, but these can easily be reworked when I start animating.


I finished the key posing early enough that I could actually start animating. I haven't really done a lot yet, but it's given me an opportunity to test out new techniques. One thing I've decided to do is use a new animation layer for modifying the key poses. This will allow me to edit the keys without deleting the original key poses. I've also been editing controls using the graph editor to avoid them looking to static.
I now progress onto week 14, and will continue animating Fishbone to better quality.
Overall, I've found key posing very useful, and I plan to use this process again for future 3D animations. There are still some poses that I have to work on, but these can easily be reworked when I start animating.
I finished the key posing early enough that I could actually start animating. I haven't really done a lot yet, but it's given me an opportunity to test out new techniques. One thing I've decided to do is use a new animation layer for modifying the key poses. This will allow me to edit the keys without deleting the original key poses. I've also been editing controls using the graph editor to avoid them looking to static.
I now progress onto week 14, and will continue animating Fishbone to better quality.
Sunday 30 March 2014
Animation Direction AM50309 - 6: Week 12
This week I plan to make a start on the animation process. Having experimented with key posing in the previous week, I decided to utilise a similar process in my animation. My aim is to key pose all of Fishbone's animation to the 2 minute timeframe.
As I was creating the key poses, I made sure to keep referencing to the original storyboard to avoid conflicting with the time frame. However, problems occurred in that some motions would require longer or shorter durations, so I made sure to accommodate them in the timeline. It was also an opportunity to insert some of the cameras in the scene as well.
Overall, I'm happy so far with this process, and feel that this will allow me to get a balanced animation.
Sunday 23 March 2014
Animation Direction AM50309 - 6: Week 11
This week my aim was to finish the rigging and practice using the rig. I wanted to understand how the rig will work first before I animate, so I felt it was necessary to do poses to test the rigs versatility.
As hands are quite difficult to animate, I decided to create set driven keys for various expressions. I feel that when I start animating, this will be a valuable shortcut for different hand movements. After completing this, I made final checks to ensure that the rig is working properly, and parented joints to the appropriate nurbs curve.
Left Hand


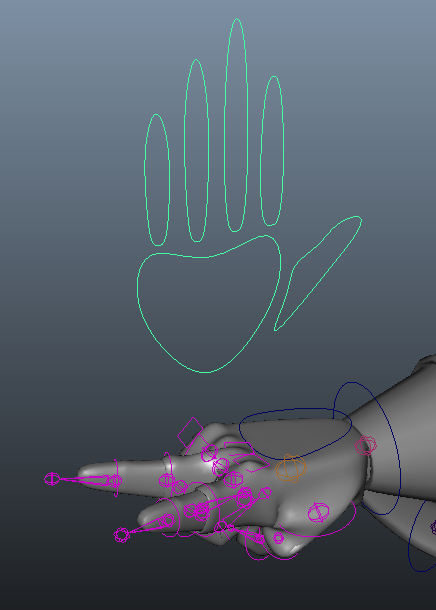
Right Hand


I then started practicing putting him in various poses to check the rigging and to see how Fishbone looks rendered. Overall I'm happy with the results, and look forward to animating him.


Sunday 16 March 2014
Animation Direction AM50309 - 6: Week 10
This week I've commenced with the production of my storyboard animatic and the body rigging of Fishbone. As my main priority was the completion of the storyboard to begin animating, I decided to focus on this first.
I brought my sketchbook into university and scanned every page of the storyboard panels into a computer. I then used StoryboardPro to composite the sequence together. I added some extra panels digitally so as to pad out the story. The next part was adding audio into the storyboard. I'm rather familiar with the software Final Cut Pro, so I used that to edit sound in. A lot of the sounds at the moment are placeholders from Freesound, so I've asked Laura to help me with specific sounds to make them more original. I also plan to include music in my final animation as well, which has been recorded by my good friend Rob Millard.
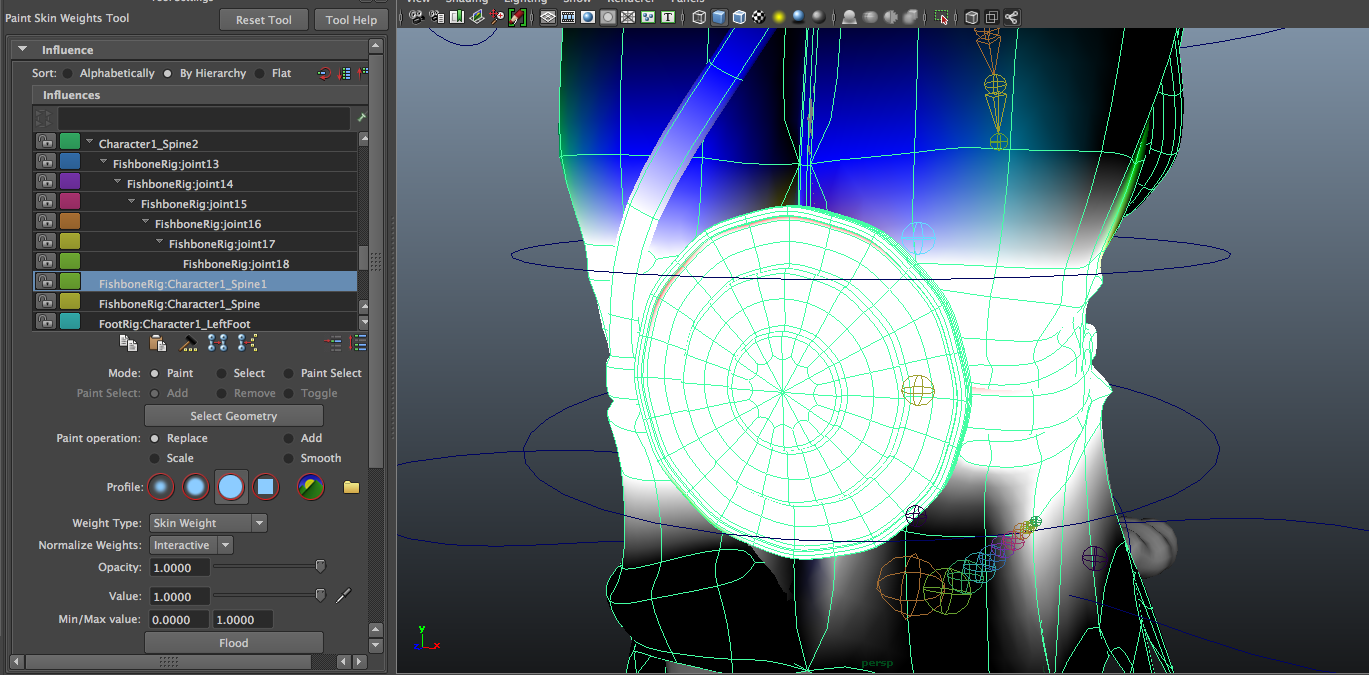
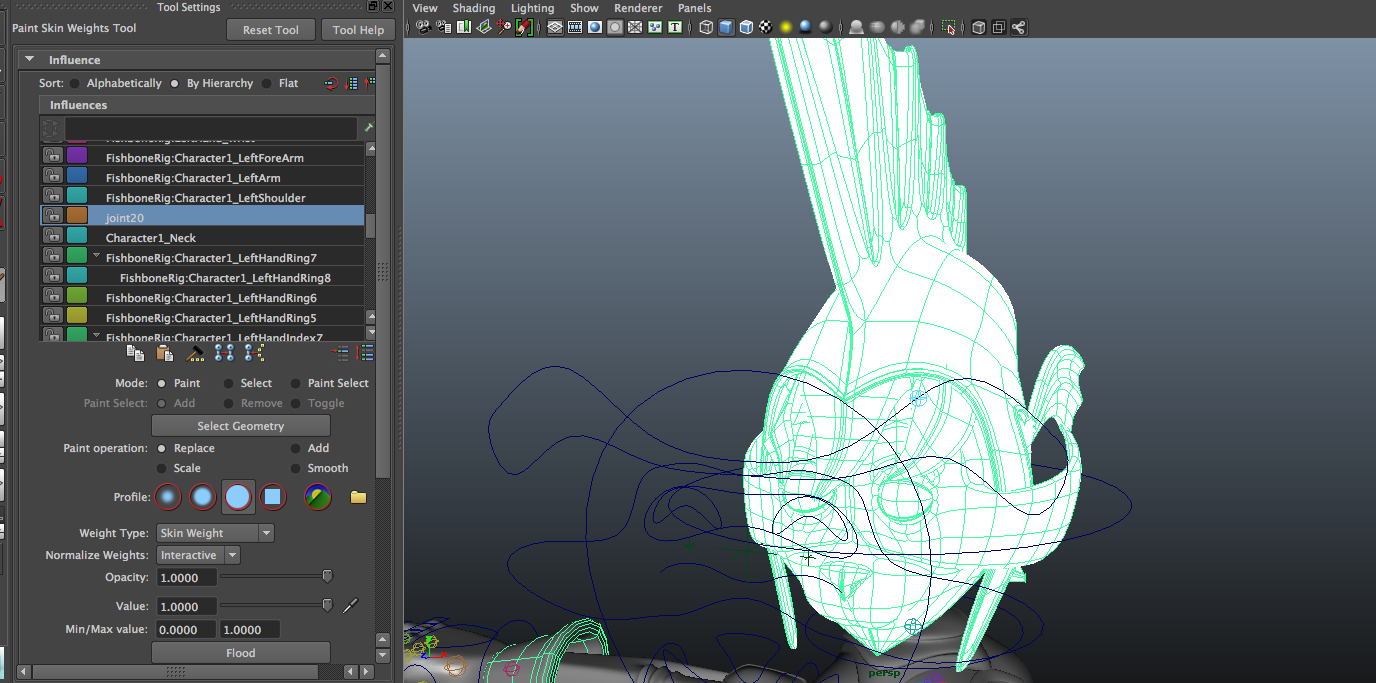
After completing this, I started to make progress on the body rigging. I used a rig that I made for Fishbone last semester to save time, and made slight adjustments to it where appropriate. After skinning him, I started paint weighting the mesh to the correct joints. I haven't ran into any significant problems so far, and hopefully should have it finished by next week.


Here's a photo of the mic I borrowed to record Rob's guitar, will cost me a grand if I break it :/

Sunday 9 March 2014
Animation Direction AM50309 - 6: Week 9
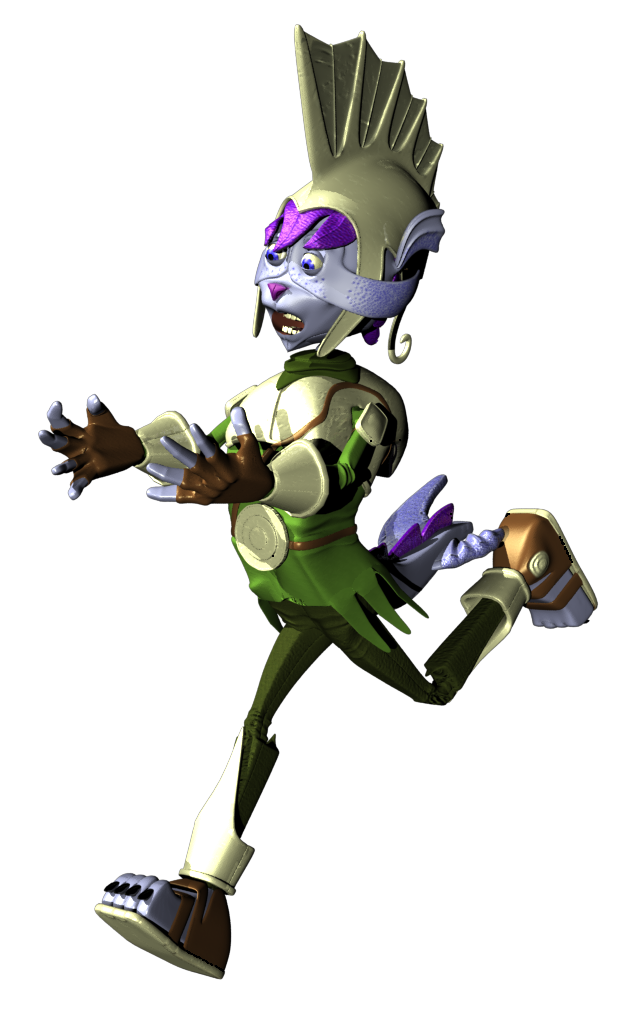
Over this week I've decided that I ned to make final preparations to begin my animation. To do this, I decided to finish the final texturing for my characters and the environments. This week was also an opportunity for me to experiment with rigging for Fishbone, so I decided to focus on the face to create his various expressions.
Importing all of the of the environmental assets was quite tricky, as I had to think about how everything would suit the scene. I also had to think about lighting, and make sure to get the right contrast between the rocks and the sea to avoid it looking too bright. It's currently a work in progress, and I plan to get it finished in the next few weeks.
.png)
.png)
.png)
For the facial rigging, I decided that I wanted to get as many facial expressions as possible. This was so that I could actually have as many varied poses for when I render Fishbone for still frames in my portfolio. I focused on the mouth expressions first, then worked my towards the brow and ears. Here's a few facial expressions to show my work.
I now commence with week 10, in which I will focus on the final storyboarding and the body rigging.
Importing all of the of the environmental assets was quite tricky, as I had to think about how everything would suit the scene. I also had to think about lighting, and make sure to get the right contrast between the rocks and the sea to avoid it looking too bright. It's currently a work in progress, and I plan to get it finished in the next few weeks.
.png) |
| Smile |
.png) |
| Kissy Face |
.png) |
| Sad |
.png) |
| Shocked |
.png) |
| Clint Eastwood |
.png) |
| Laughing |
Sunday 2 March 2014
Animation Direction AM50309 -6: Week 8
So this week I've decided that I need to get more people involved in helping out my project. I already have Laura Emmerman helping me out with some of the foley sounds eg. Ocean and water, but I need more people to help with other parts of the project eg. Poster design and voice acting.
To promote my project, I have decided to post up flyers in various parts of the uni faculties eg. The animation and graphics departments. I have made it so that if people are interested, they can rip off a ticket with my contact details on it.

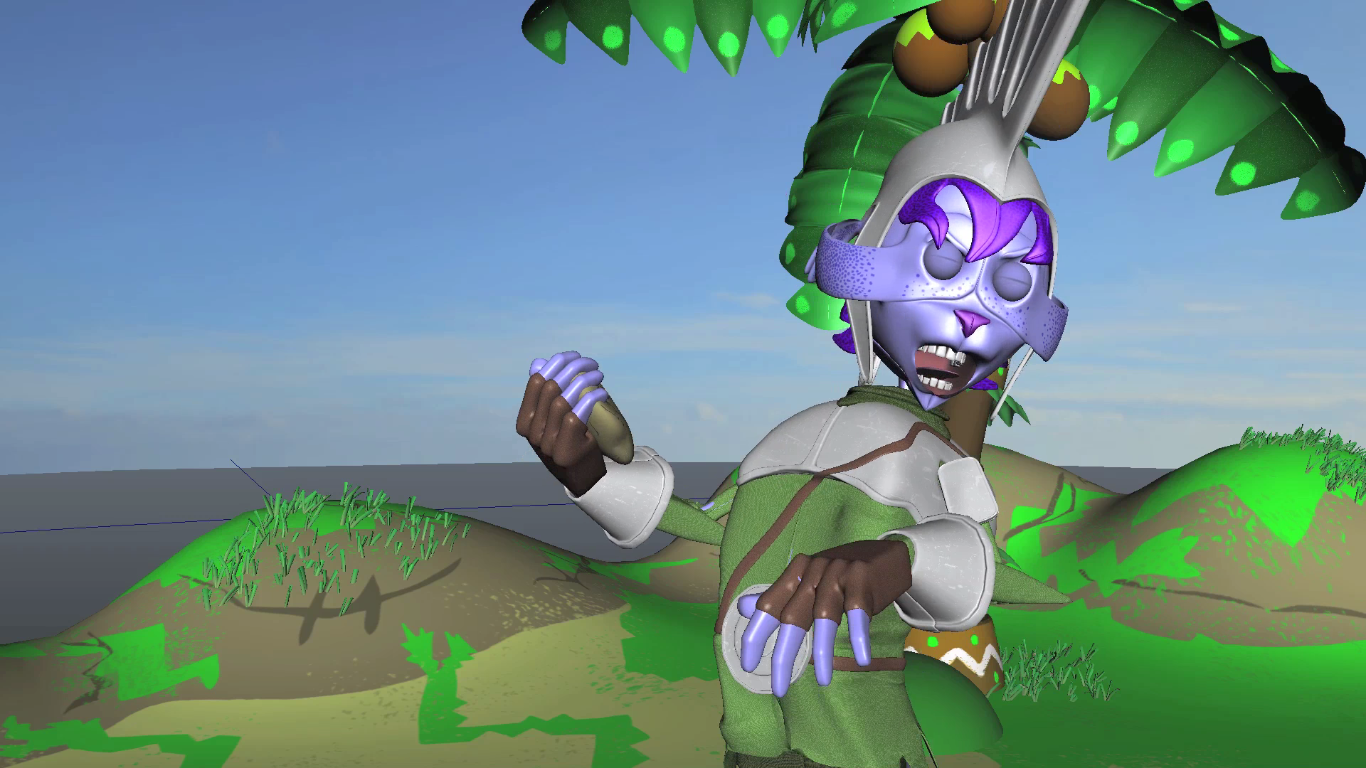
I have also been working on Fishbone's trident in maya. As my narrative revolves around Fishbone's mistake of bringing a coconut to life, my design process was to make the trident look more superior than the character who welds it. It is also supposed to signify Fishbone's lack of understanding of the weapon, which I think adds to his personality.
I originally envisioned the trident to have dents and bumps to show it's age. However, I tested the texturing using a preset mia_material, and it produced a far better quality. I also wanted the trident to have a unique silhouette, so I added the wing-like metal at the bottom.
To promote my project, I have decided to post up flyers in various parts of the uni faculties eg. The animation and graphics departments. I have made it so that if people are interested, they can rip off a ticket with my contact details on it.
I have also been working on Fishbone's trident in maya. As my narrative revolves around Fishbone's mistake of bringing a coconut to life, my design process was to make the trident look more superior than the character who welds it. It is also supposed to signify Fishbone's lack of understanding of the weapon, which I think adds to his personality.
I originally envisioned the trident to have dents and bumps to show it's age. However, I tested the texturing using a preset mia_material, and it produced a far better quality. I also wanted the trident to have a unique silhouette, so I added the wing-like metal at the bottom.
.png) |
| Front |
.png) |
| Side |
.png) |
| Perspective |
Sunday 23 February 2014
Animation Direction AM50309 - 6: Week 7
This past week I have decided to make the finishing touches to the floating rocks and also make a start on the ocean shader.
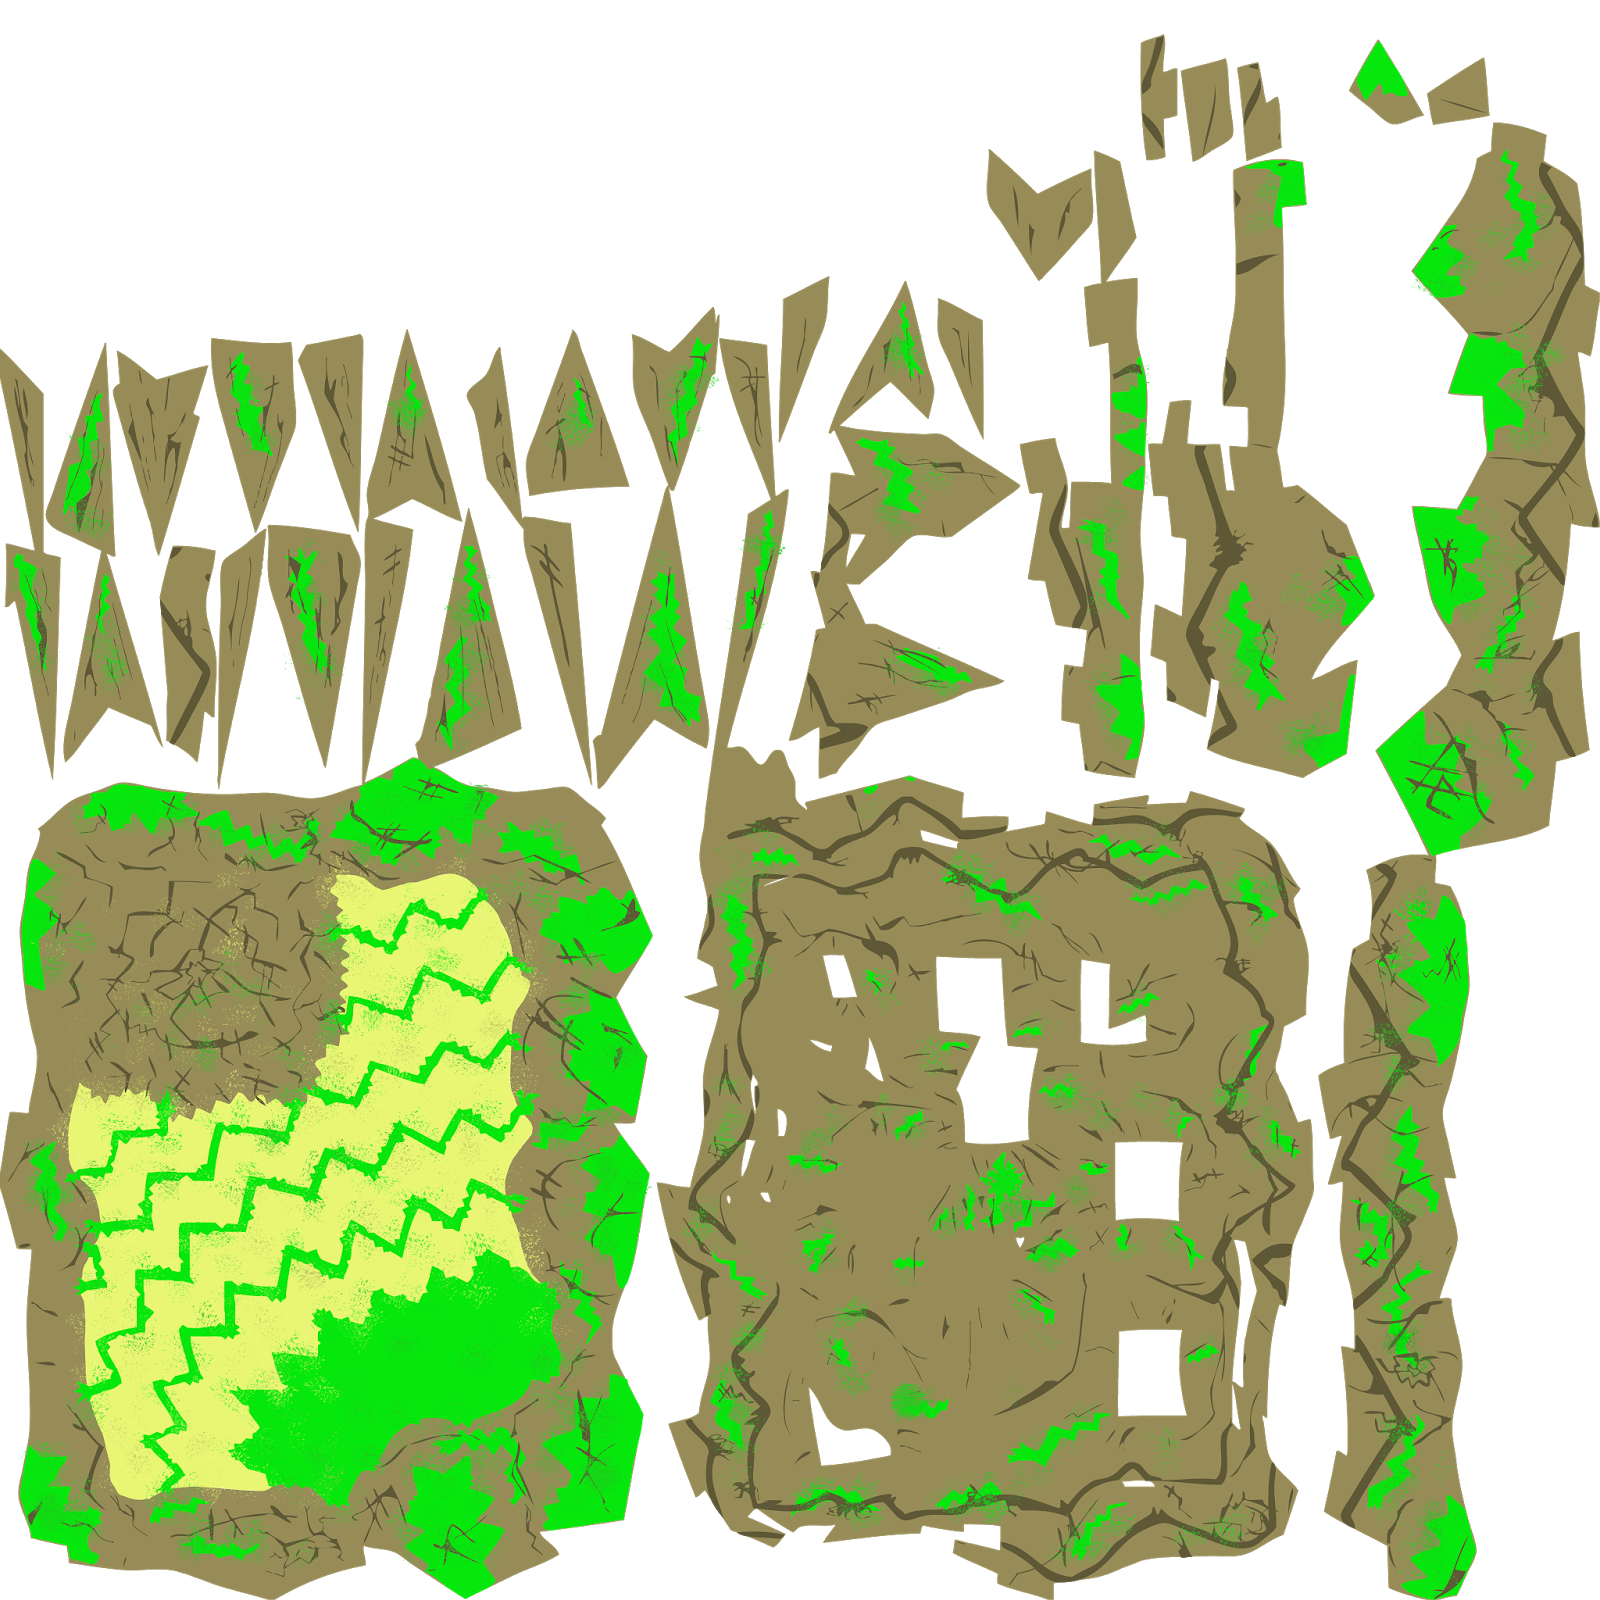
I decided to make final checks to each rock to make sure that the bump mapping looked right on each one. I also added the palm trees on them, and bended each one so as to avoid them looking to stiff. I'm not quite sure how I will animate them yet, but it shouldn't be too hard to figure out.
Andward Arts Presents


CocoNUTS!!!
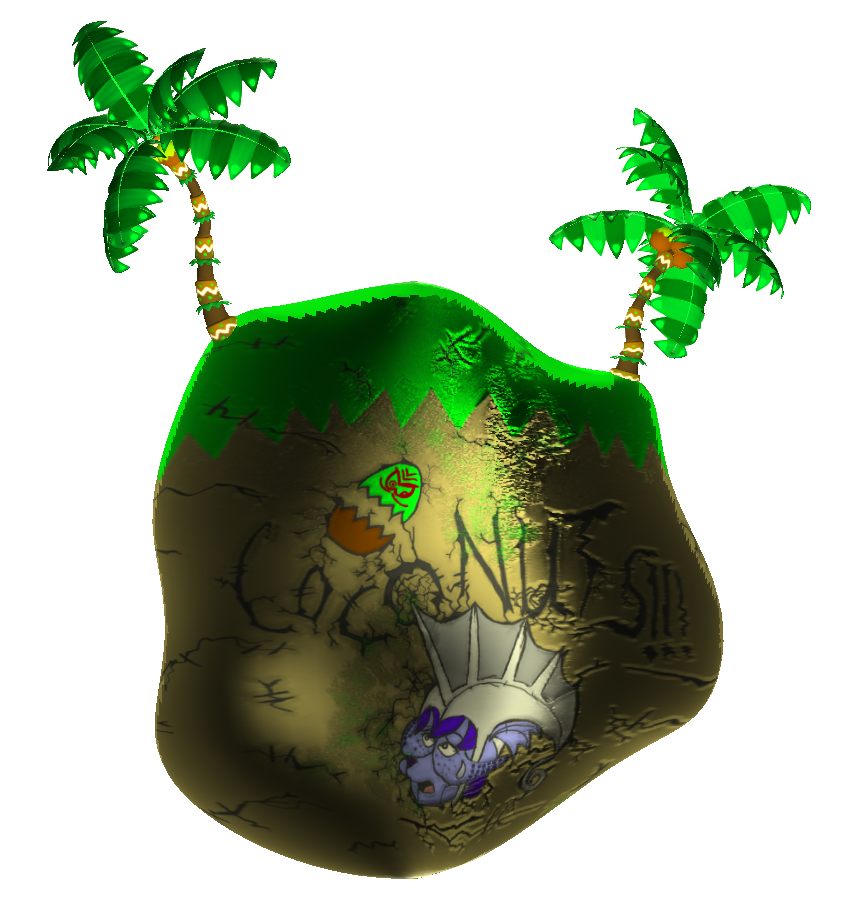
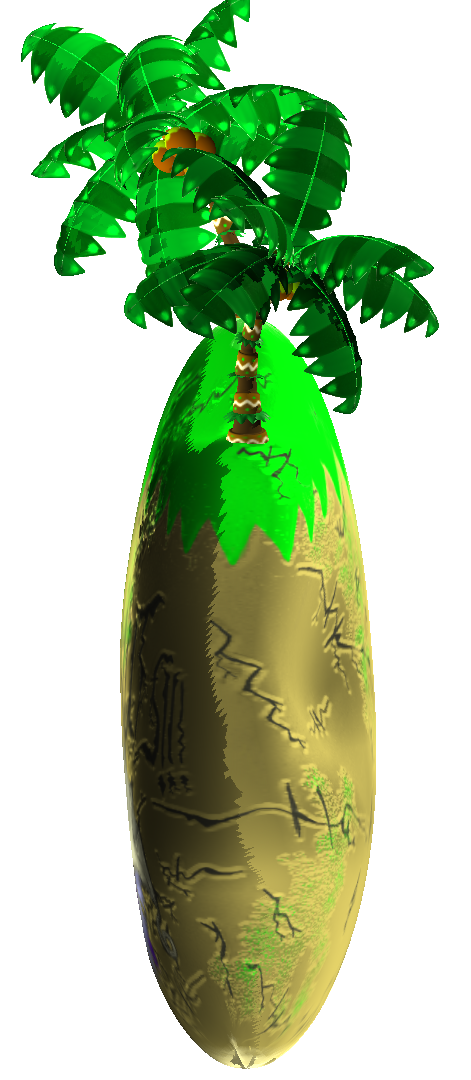

Floating Island
.png) |
| Side |
.png) |
| Front |
.png) |
| Top |
.png) |
| Bottom |
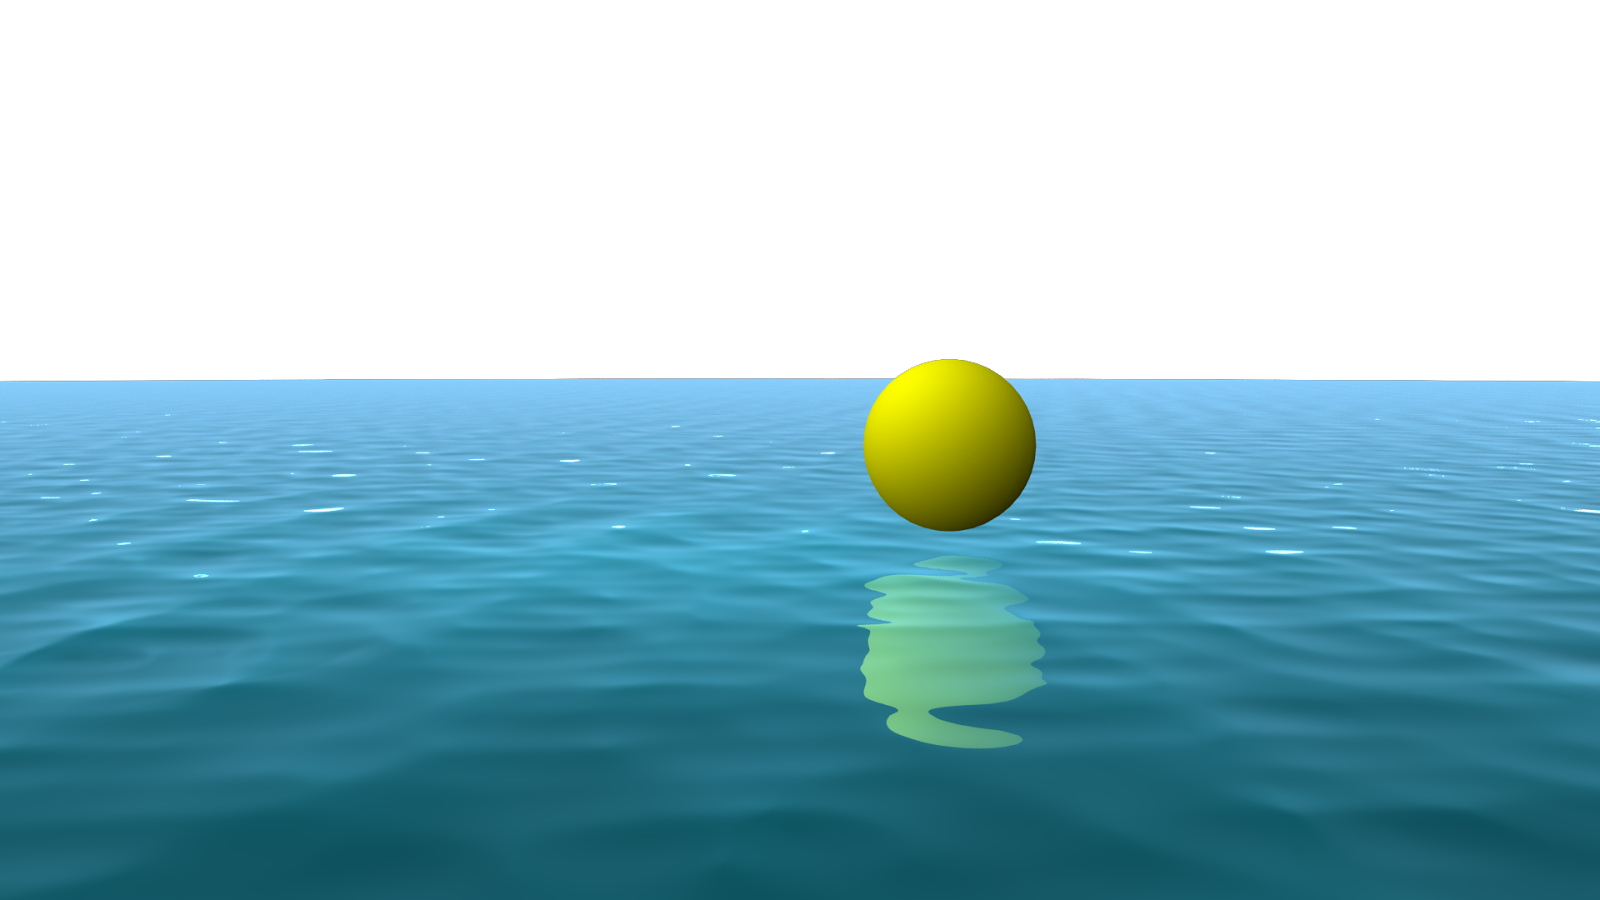
Regarding my ocean shader, my original thought was that I would have to create it from scratch. As creating water in maya is very difficult, I wasn't sure whether to carry on with the original concept. Thankfully, I discovered a pre made ocean shader in the software that allowed me to apply a map with an ocean texture on it. It can also be animated as well, which made things far more easier. This took down my production time significantly, and I decided to focus my time on making the waves look appropriate for the final animation.

Subscribe to:
Posts (Atom)