Sunday, 23 March 2014

Animation Direction AM50309 - 6: Week 11

This week my aim was to finish the rigging and practice using the rig. I wanted to understand how the rig will work first before I animate, so I felt it was necessary to do poses to test the rigs versatility.

As hands are quite difficult to animate, I decided to create set driven keys for various expressions. I feel that when I start animating, this will be a valuable shortcut for different hand movements. After completing this, I made final checks to ensure that the rig is working properly, and parented joints to the appropriate nurbs curve.

Left Hand


Right Hand


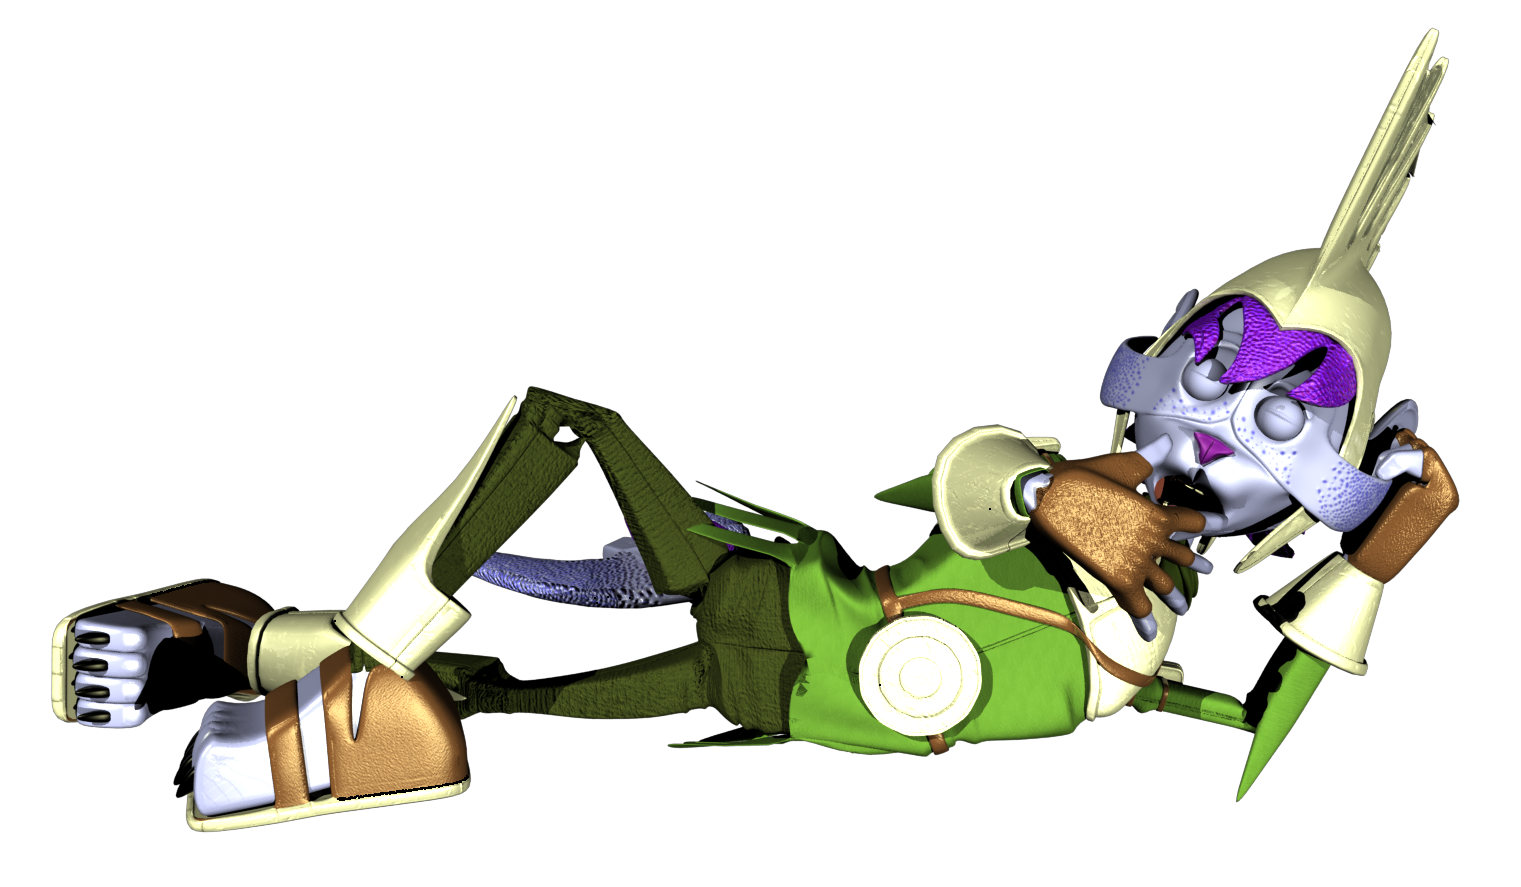
I then started practicing putting him in various poses to check the rigging and to see how Fishbone looks rendered. Overall I'm happy with the results, and look forward to animating him.




Sunday, 16 March 2014

Animation Direction AM50309 - 6: Week 10

This week I've commenced with the production of my storyboard animatic and the body rigging of Fishbone. As my main priority was the completion of the storyboard to begin animating, I decided to focus on this first.


I brought my sketchbook into university and scanned every page of the storyboard panels into a computer. I then used StoryboardPro to composite the sequence together. I added some extra panels digitally so as to pad out the story. The next part was adding audio into the storyboard. I'm rather familiar with the software Final Cut Pro, so I used that to edit sound in. A lot of the sounds at the moment are placeholders from Freesound, so I've asked Laura to help me with specific sounds to make them more original. I also plan to include music in my final animation as well, which has been recorded by my good friend Rob Millard.


After completing this, I started to make progress on the body rigging. I used a rig that I made for Fishbone last semester to save time, and made slight adjustments to it where appropriate. After skinning him, I started paint weighting the mesh to the correct joints. I haven't ran into any significant problems so far, and hopefully should have it finished by next week.


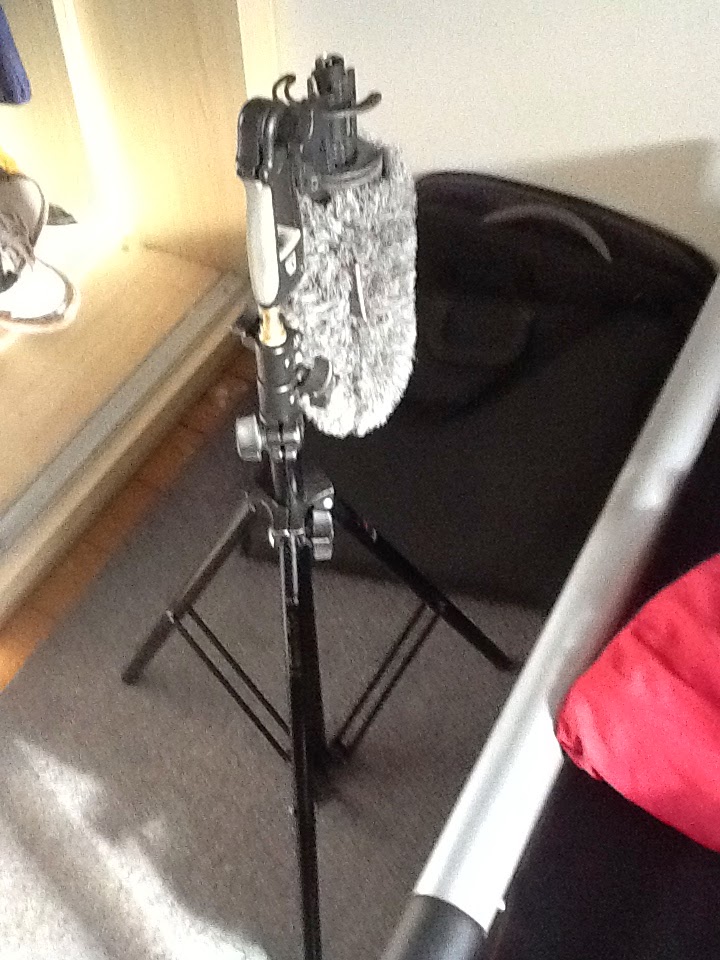
Here's a photo of the mic I borrowed to record Rob's guitar, will cost me a grand if I break it :/


Sunday, 9 March 2014

Animation Direction AM50309 - 6: Week 9

Over this week I've decided that I ned to make final preparations to begin my animation. To do this, I decided to finish the final texturing for my characters and the environments. This week was also an opportunity for me to experiment with rigging for Fishbone, so I decided to focus on the face to create his various expressions.

Importing all of the of the environmental assets was quite tricky, as I had to think about how everything would suit the scene. I also had to think about lighting, and make sure to get the right contrast between the rocks and the sea to avoid it looking too bright. It's currently a work in progress, and I plan to get it finished in the next few weeks.


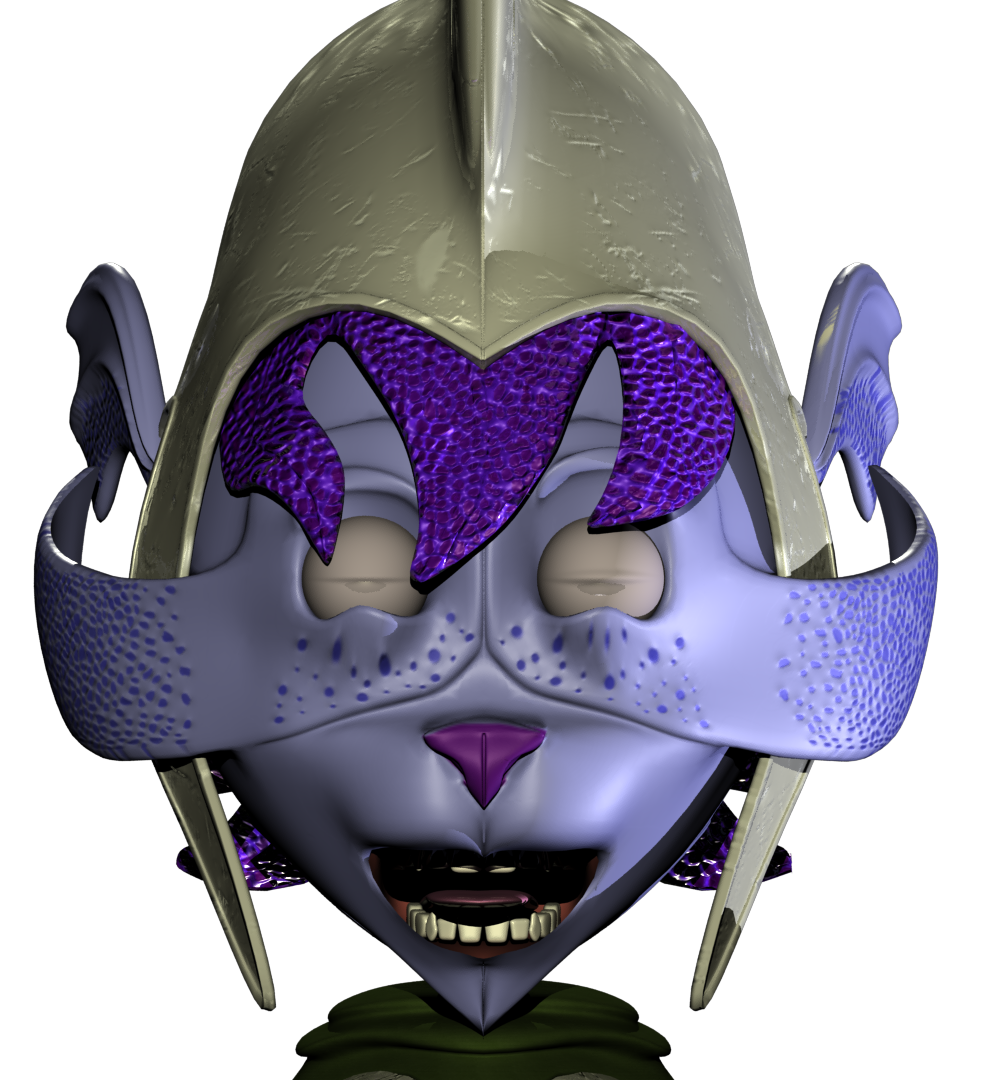
For the facial rigging, I decided that I wanted to get as many facial expressions as possible. This was so that I could actually have as many varied poses for when I render Fishbone for still frames in my portfolio. I focused on the mouth expressions first, then worked my towards the brow and ears. Here's a few facial expressions to show my work.

Smile


Kissy Face

Sad


Shocked

Clint Eastwood

Laughing
I now commence with week 10, in which I will focus on the final storyboarding and the body rigging.

Sunday, 2 March 2014

Animation Direction AM50309 -6: Week 8

So this week I've decided that I need to get more people involved in helping out my project. I already have Laura Emmerman helping me out with some of the foley sounds eg. Ocean and water, but I need more people to help with other parts of the project eg. Poster design and voice acting.

To promote my project, I have decided to post up flyers in various parts of the uni faculties eg. The animation and graphics departments. I have made it so that if people are interested, they can rip off a ticket with my contact details on it.


I have also been working on Fishbone's trident in maya. As my narrative revolves around Fishbone's mistake of bringing a coconut to life, my design process was to make the trident look more superior than the character who welds it. It is also supposed to signify Fishbone's lack of understanding of the weapon, which I think adds to his personality.

I originally envisioned the trident to have dents and bumps to show it's age. However, I tested the texturing using a preset mia_material, and it produced a far better quality. I also wanted the trident to have a unique silhouette, so I added the wing-like metal at the bottom.


Front

Side

Perspective


Sunday, 23 February 2014

Animation Direction AM50309 - 6: Week 7

This past week I have decided to make the finishing touches to the floating rocks and also make a start on the ocean shader. 


I decided to make final checks to each rock to make sure that the bump mapping looked right on each one. I also added the palm trees on them, and bended each one so as to avoid them looking to stiff. I'm not quite sure how I will animate them yet, but it shouldn't be too hard to figure out.                 


Andward Arts Presents


CocoNUTS!!!


Floating Island
Side

Front

Top

Bottom
Regarding my ocean shader, my original thought was that I would have to create it from scratch. As creating water in maya is very difficult, I wasn't sure whether to carry on with the original concept. Thankfully, I discovered a pre made ocean shader in the software that allowed me to apply  a map with an ocean texture on it. It can also be animated as well, which made things far more easier. This took down my production time significantly, and I decided to focus my time on making the waves look appropriate for the final animation.


Sunday, 16 February 2014

Animation Direction AM50309 - 6: Week 6

I'm continuing with the modelling process, this time creating the second title card for the animations name, CocoNUTS!!!.

As with the other two rocks, I followed the same process of creating a basic model in maya, exporting it to mudbox to apply basic texturing and then utilising photoshop to finish off the final details. Like with the other title card, it was fairly easy to texture due to the simple shape. I also followed the same process of making normal maps with CrazyBump.

Before

After

I enjoyed creating all of the rocks, as it was a way of letting me develop my texture and bump mapping skills. It also taught me valuable shortcuts to save modelling time, which I plan on using for future projects.

Sunday, 9 February 2014

Animation Direction AM50309 - 6: Week 5

In order to give my film a bit more of a visual impact, I decided to give my film a unique title sequence so as to intrigue the viewer. I have never done anything like this for any of my other projects, so I wanted to try it out for this one.

I first started creating the rock that represented my brand identity. I largely followed the same process as for the floating island, but I used cylindrical mapping instead. After exporting the base mesh to Mudbox, I once again applied basic texturing to the mesh to act as markers. I then exported the texture maps to finish off the final details, and applied bump mapping with CrazyBump.


Mesh

Texture Map
Render


I still have a bit more work to do on them to make them look right, but so far I'm making good progress.

Sunday, 2 February 2014

Animation Direction AM50309 - 6: Week 4


I now started to think about the design of the main island. Knowing that I wanted to keep it simple to avoid long rendering times, I decided to use a basic cube polygon, and then sculpt it in Mudbox.

In Mudbox, I applied basic bulging on the edges on top to make it look more rock like. I also added a few bulges at the bottom to make it look like it's floating off the ground. After I did this, I created the textures on top using basic mapping, and then exported the texture maps into photoshop like I did with the palm tree and Fishbone's textures.


Overall I'm happy with the way the island looks, and I plan to eventually include a pond in the hole as well using dynamics to create a waterfall. If I had more time I would probably make the bottom look slightly more defined.


This week has also given me the opportunity to work on the coconut character. As it's a simple sphere, it would be quite quick to model and rig.


For the coconut's eyes, I wanted to give the impression that they are etched onto its surface. To do this, I decided to use a similar technique to making blend shapes, except this time I utilised images instead. To do this, I created a texture map and then created eye expressions       
in Photoshop.

Once I finished the different expressions, I saved each layer separately as tiff files and then mapped them to the top half of the coconut. I then created a new item in the channel box named eye expressions and keyed each expression to the channel.

Image Sequence


Normal

Crazy

Eyes Closed


Once this was finished I added the blend shapes to the top mouth. I felt that this would make the animation slightly easier. Adding these blend shapes was relatively easy, and I plan to use them in the final animation.

Blend Shapes

Left

Back

Top

Front